I LOVE Pinterest! I think I may have already told you that! It bares being repeated!! Anything to do with Pinterest is not subject to 'you already told me that'! (she says with a wink and a giggle)!
Well, recently my sister and her hubby decided to decorate their bedroom in maps! MAPS! How awesome is that? To be able to go into your bedroom and visit all sorts of places via maps!
So, of course, this kick started my brain into over-drive! My sister's birthday was coming and I knew exactly what I wanted to do for her!
I had seen it on my 'I'm only going to be on for a few minutes, only to realize its been 2 hours' Pinterest!
A world globe lamp! Maybe Two!! Oooo, I know, bedside table lamps! That's it!
It would be perfect! Now, while I knew it wouldn't be too difficult, I am always one who wants to 'see' how those who have gone before me have completed the task I am embarking on.
I found plenty of ideas, as I knew I would!
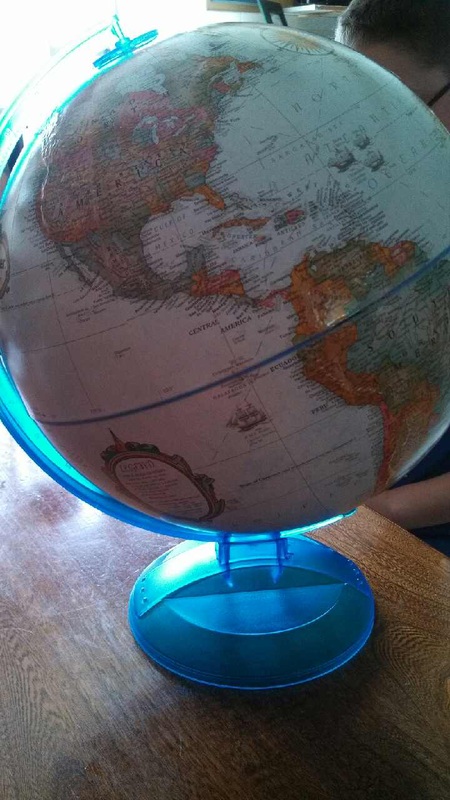
It was time to start looking for a globe.
A simple, cheap, cardboard globe.
Shouldn't be hard!
Wrong!
After going to all of the big chains, hitting some flea market type establishments, Good Wills, thrift stores, and three hours of pure frustration, I gave up!
It appears, globes are no longer for sale! Now I know this cannot be the truth, but it was certainly how I was feeling!
Finally, after all of that, my hubby suggests a bookstore. Okay, didn't think of that one!
They had globes alright....$30 globes! Are you kidding me? $30 for a cardboard globe! What happened to $14, $15?
NO time for garage sales...guess I'm spending $30 for a cardboard globe I'm going to cut in half!! UGH!
Finally, I can start!
Supplies
These are for for one lamp (I made two so I bought two of everything except the globe):
* Cardboard World Globe- I would say 'cheap' cardboard world globe but I can make no promises. The best I can offer...don't wait til the last minute, hit garage sales asap if you plan on making one to give as a gift!
* Lamp Base- I bought mine at a Family Dollar type store for $6. You could use any base though. Be sure there is a lamp harp (that's the part that your lampshade attaches to) or you will need to buy a harp or an adapter.
* Harp Adapter- only if your lamp doesn't come with a harp. Mine did not. Bought mine at Lowes for about $5.
* Utility Knife- make sure it's sharp. I made the mistake of thinking I could use an older blade...NOPE!
* Finial- Most places that sell lamps, sell these. They are the cute little decorative knob on top of your lamp that holds the lampshade on, just in case you didn't know!
*Modge Podge & Sponge Brush- any clear coat will work, I just happened to have modge podge on hand.
* Washi Tape/Duct Tape - There are so many choices for tape now-a days. I chose a black leather look tape for my project.
* Travel Stickers (optional) - This was something I added. In yesteryear traveling trunks had travel stickers all over them, so I thought this would make a nice addition to my lamps!
How I did it:
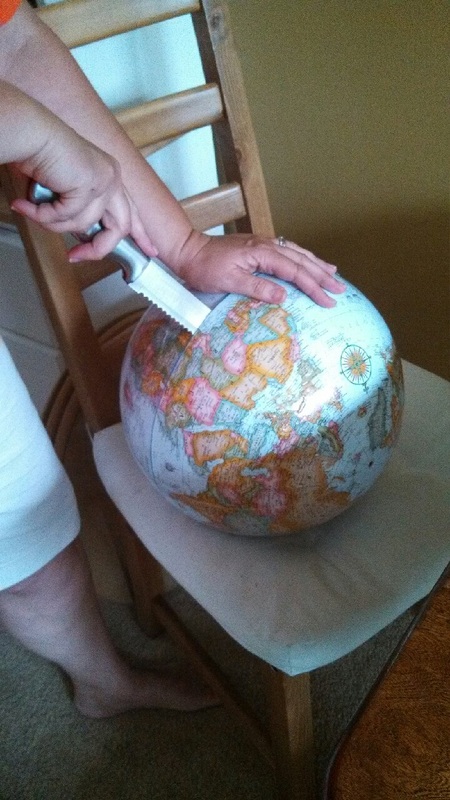
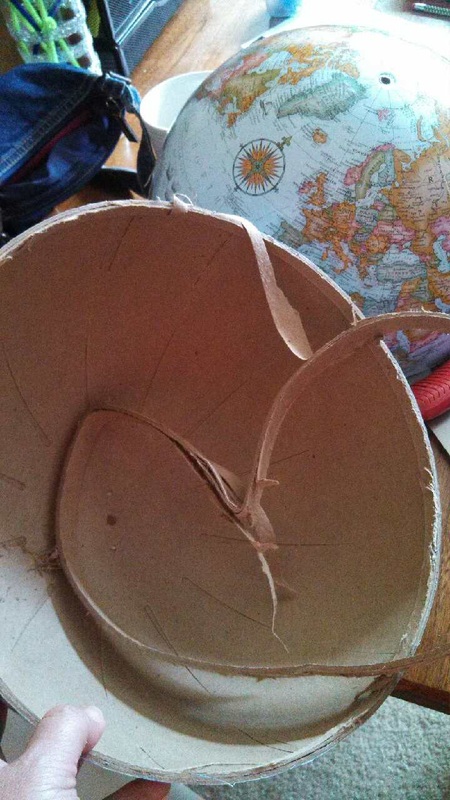
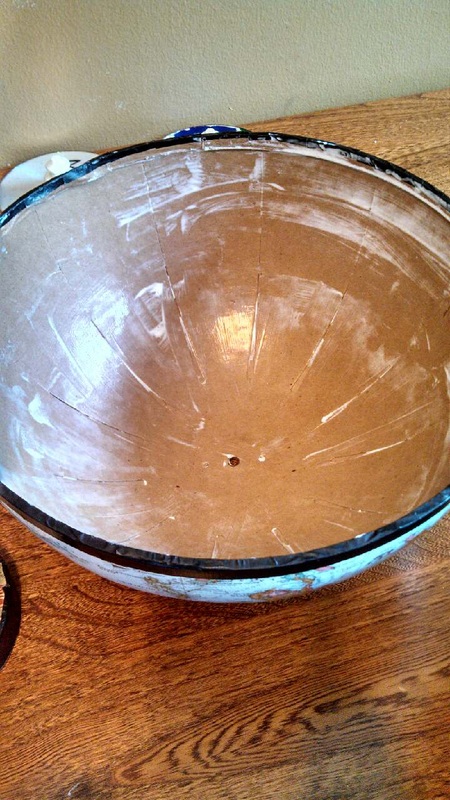
1. Cut that globe in half! Follow the line of the Equator. Not as easy as it sounds. The globe had a thick stabilizer going around the Equator. I finally had to get a bread knife, stab through what I had already cut, and use all of my force (standing up, leaning on globe) to break the seal that held the stabilizer. It cracked so loud I thought I had broken the globe! Thankfully, no I didn't!
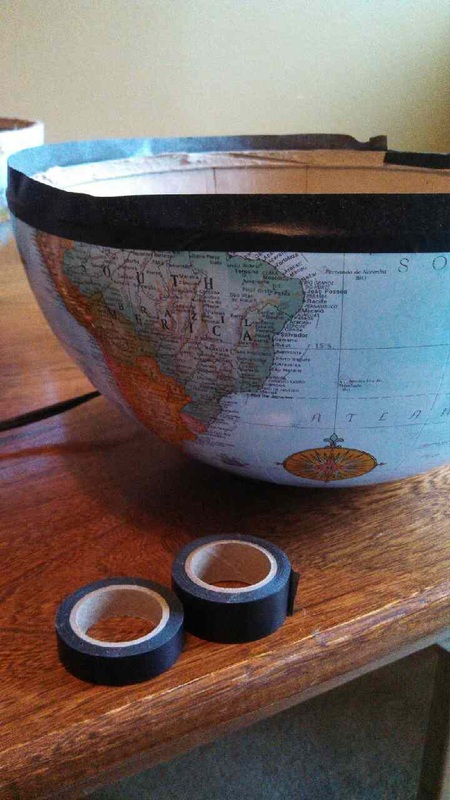
2. Use Tape to Cover Raw Edge - This is pretty straight forward
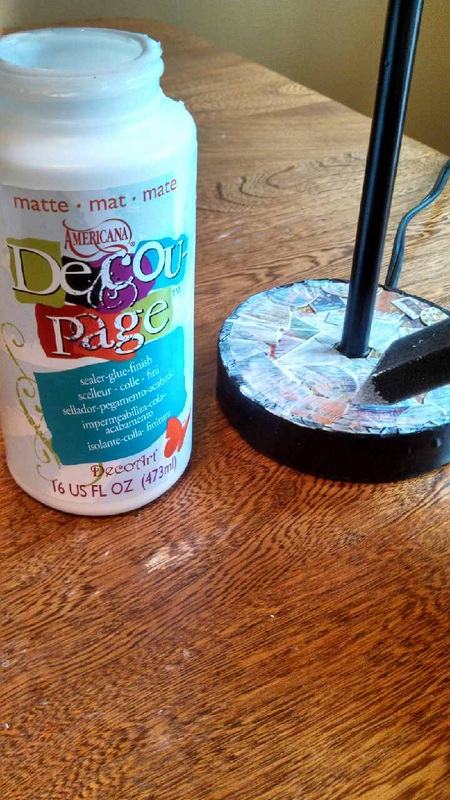
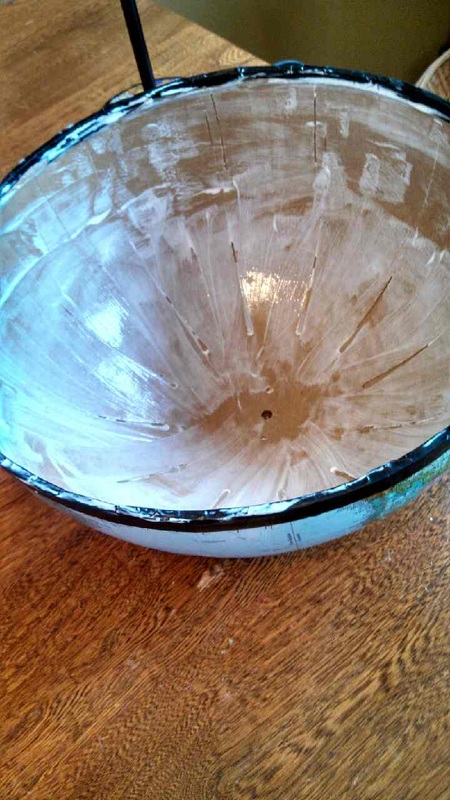
3. Paint a Thin Layer of Clear Coat - I did the outside and the inside of the halves. One or two coats would be fine I think. Allow to dry completely.
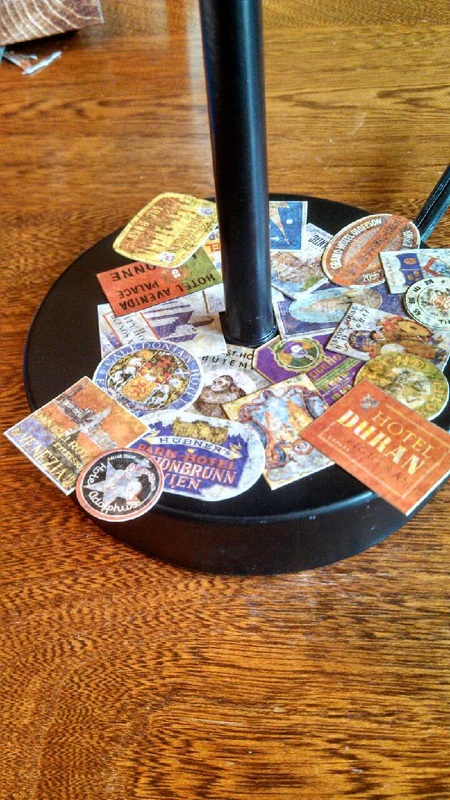
4. Sticker the Base - if you are doing this step. Cover the base and then apply a coat or two of clear coat!
5. Attach Harp - as I said, I bought an adapter. It just fits over the light bulb and has the finial screw on top. Worked beautifully
6. Attach Finial - The finishing touch! I bought round ones, just to keep with the shape of the globes.
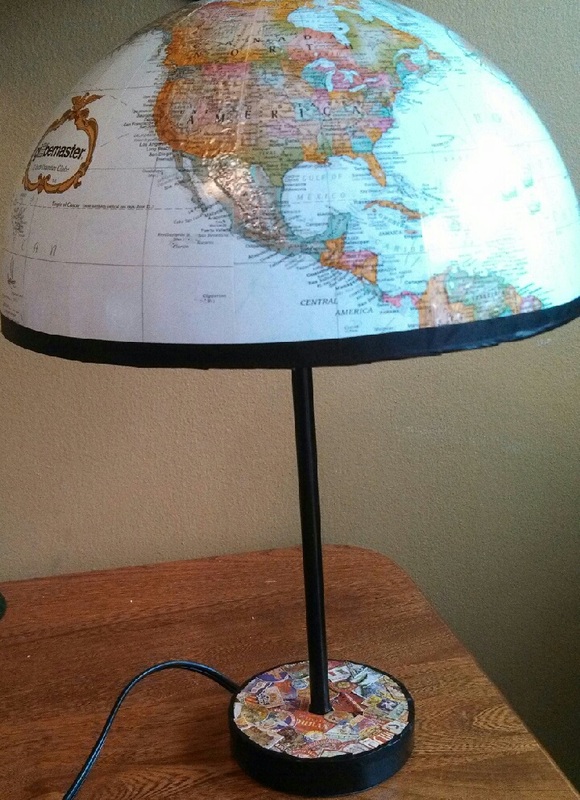
Finished!
I made two so my sister could use them as bedside lamps. She didn't mind that one of her worlds was upside down! She actually said it was a perfect representation of how her world feels sometimes! Ha! Gotta love that!
Well, recently my sister and her hubby decided to decorate their bedroom in maps! MAPS! How awesome is that? To be able to go into your bedroom and visit all sorts of places via maps!
So, of course, this kick started my brain into over-drive! My sister's birthday was coming and I knew exactly what I wanted to do for her!
I had seen it on my 'I'm only going to be on for a few minutes, only to realize its been 2 hours' Pinterest!
A world globe lamp! Maybe Two!! Oooo, I know, bedside table lamps! That's it!
It would be perfect! Now, while I knew it wouldn't be too difficult, I am always one who wants to 'see' how those who have gone before me have completed the task I am embarking on.
I found plenty of ideas, as I knew I would!
It was time to start looking for a globe.
A simple, cheap, cardboard globe.
Shouldn't be hard!
Wrong!
After going to all of the big chains, hitting some flea market type establishments, Good Wills, thrift stores, and three hours of pure frustration, I gave up!
It appears, globes are no longer for sale! Now I know this cannot be the truth, but it was certainly how I was feeling!
Finally, after all of that, my hubby suggests a bookstore. Okay, didn't think of that one!
They had globes alright....$30 globes! Are you kidding me? $30 for a cardboard globe! What happened to $14, $15?
NO time for garage sales...guess I'm spending $30 for a cardboard globe I'm going to cut in half!! UGH!
Finally, I can start!
Supplies
These are for for one lamp (I made two so I bought two of everything except the globe):
* Cardboard World Globe- I would say 'cheap' cardboard world globe but I can make no promises. The best I can offer...don't wait til the last minute, hit garage sales asap if you plan on making one to give as a gift!
* Lamp Base- I bought mine at a Family Dollar type store for $6. You could use any base though. Be sure there is a lamp harp (that's the part that your lampshade attaches to) or you will need to buy a harp or an adapter.
* Harp Adapter- only if your lamp doesn't come with a harp. Mine did not. Bought mine at Lowes for about $5.
* Utility Knife- make sure it's sharp. I made the mistake of thinking I could use an older blade...NOPE!
* Finial- Most places that sell lamps, sell these. They are the cute little decorative knob on top of your lamp that holds the lampshade on, just in case you didn't know!
*Modge Podge & Sponge Brush- any clear coat will work, I just happened to have modge podge on hand.
* Washi Tape/Duct Tape - There are so many choices for tape now-a days. I chose a black leather look tape for my project.
* Travel Stickers (optional) - This was something I added. In yesteryear traveling trunks had travel stickers all over them, so I thought this would make a nice addition to my lamps!
How I did it:
1. Cut that globe in half! Follow the line of the Equator. Not as easy as it sounds. The globe had a thick stabilizer going around the Equator. I finally had to get a bread knife, stab through what I had already cut, and use all of my force (standing up, leaning on globe) to break the seal that held the stabilizer. It cracked so loud I thought I had broken the globe! Thankfully, no I didn't!
2. Use Tape to Cover Raw Edge - This is pretty straight forward
3. Paint a Thin Layer of Clear Coat - I did the outside and the inside of the halves. One or two coats would be fine I think. Allow to dry completely.
4. Sticker the Base - if you are doing this step. Cover the base and then apply a coat or two of clear coat!
5. Attach Harp - as I said, I bought an adapter. It just fits over the light bulb and has the finial screw on top. Worked beautifully
6. Attach Finial - The finishing touch! I bought round ones, just to keep with the shape of the globes.
Finished!
I made two so my sister could use them as bedside lamps. She didn't mind that one of her worlds was upside down! She actually said it was a perfect representation of how her world feels sometimes! Ha! Gotta love that!